Build DeepSeek Harness from source, develop DSH plugins
Building DeepSeek Harness from source takes five steps: install Node.js and pnpm, git clone, pnpm install, pnpm run build, then launch with pnpm dsh. The source build is the best environment for developing DSH plugins locally — dsh plugin forwards its arguments to pnpm, so local paths, git, and npm sources all work, and finished plugins can be submitted to DSH Plugin Hub so the community installs them in one click. This guide covers the five-step build, the local debugging workflow, and publishing.
Overview: source build vs one-command npx
npx pulls the npm release package every run; a source build compiles the latest code on your machine — both work, but serve different purposes. npx is the launch method used by the official Quickstart and needs no local install, ideal for daily use (source); a source build needs the Node.js and pnpm toolchain and launches via pnpm dsh, suited to developers who want to extend DeepSeek Harness itself, debug plugins locally, or need a local build artifact (source). This article covers the five-step build, the local development workflow, the differences from the npx version, and publishing.
Step 1: prepare the build environment — Node.js and pnpm
A source build needs two tools: Node.js (18 or later) and the pnpm package manager. Check them in order:
- Install Node.js: run
node -vto confirm the version (18 or later recommended); if missing, install a Node.js LTS release first. - Install pnpm: pnpm is the package manager for building and launching — run
pnpm -vto confirm; if missing, install it withnpm install -g pnpm. - Confirm the network:
pnpm installpulls a lot of dependencies and stalls without network access; set up a mirror if needed.
Step 2: clone the DeepSeek Harness repository
Clone the official repository with git. Run:
git clone https://github.com/deepseek-ai/deepseek-harness.git
Then enter the repository — all remaining steps run inside it:
cd deepseek-harness
Step 3: install dependencies with pnpm install
Run pnpm install inside the repository to install all dependencies. This pulls the dependencies of every package in the monorepo (including the dsh CLI) and takes as long as your network allows; no further configuration is needed after it finishes.
pnpm install
Step 4: build with pnpm run build
Run pnpm run build to compile the source into runnable artifacts. Following the dsh CLI README order (source):
pnpm run build
Once the build succeeds, the repository contains runnable build artifacts; to upgrade later after pulling new code, run pnpm install && pnpm run build again.
Step 5: launch with pnpm dsh web
After the build, launch with pnpm dsh — the commands are identical to the npx version. pnpm dsh accepts the same commands as npx @deepseek-ai/dsh: pnpm dsh web is a hardcoded alias of --profile web and opens the Web UI at http://127.0.0.1:3080 by default (source). Headless runs and custom ports work exactly as in the npx version:
pnpm dsh web
Open the address the terminal prints in a browser to enter the Web UI; first-use setup (API key and workspace) is the same as the npx version.
Workflow for developing DSH plugins locally
The source build is the most direct environment for debugging DSH plugins: dsh plugin forwards its arguments to pnpm, so you can install your own plugin with pnpm's local-path support. To install a locally developed plugin:
pnpm dsh plugin --profile web add file:../my-plugin
dsh plugin --profile <name> <pnpm args> forwards arguments such as add / remove / update / why straight to pnpm (source), so every package source pnpm supports — npm packages, git addresses, and local paths — can be used to install plugins. Restart pnpm dsh web after editing plugin code to see the changes. For how to write a plugin itself (exporting an apply function, Cordis, declaring dependencies with inject), see Developing DSH plugins.
Source build vs npx version: which to choose
Choose npx for daily use and a source build for development; both share the same data directory and you can switch freely. Key differences:
- Version: npx follows the released npm version; a source build follows the commit you cloned, so code edits take effect immediately.
- Environment: a source build needs Node.js and pnpm, and requires
pnpm run buildagain to upgrade; npx needs no installation. - Data: both share
~/.dsh(profiles and sessions), so session data carries over and installed plugins are unaffected by the switch.
Upgrade commands are covered in Updating DeepSeek Harness to the latest version.
Publishing finished plugins
Once a plugin is packaged and published to npm, it can be submitted to DSH Plugin Hub so the community installs it in one click. The packaging and publishing flow (declaring dsh.bundle.patch in package.json and publishing the npm package) is covered by the official publishing docs and Developing DSH plugins. After publishing, you can apply for inclusion in DSH Plugin Hub — the community plugin marketplace behind Settings → Plugin Market — which currently indexes 10000+ community plugins, 10000+ of them hand-verified. Once included, users can search for your plugin in the plugin market and install it with one click:
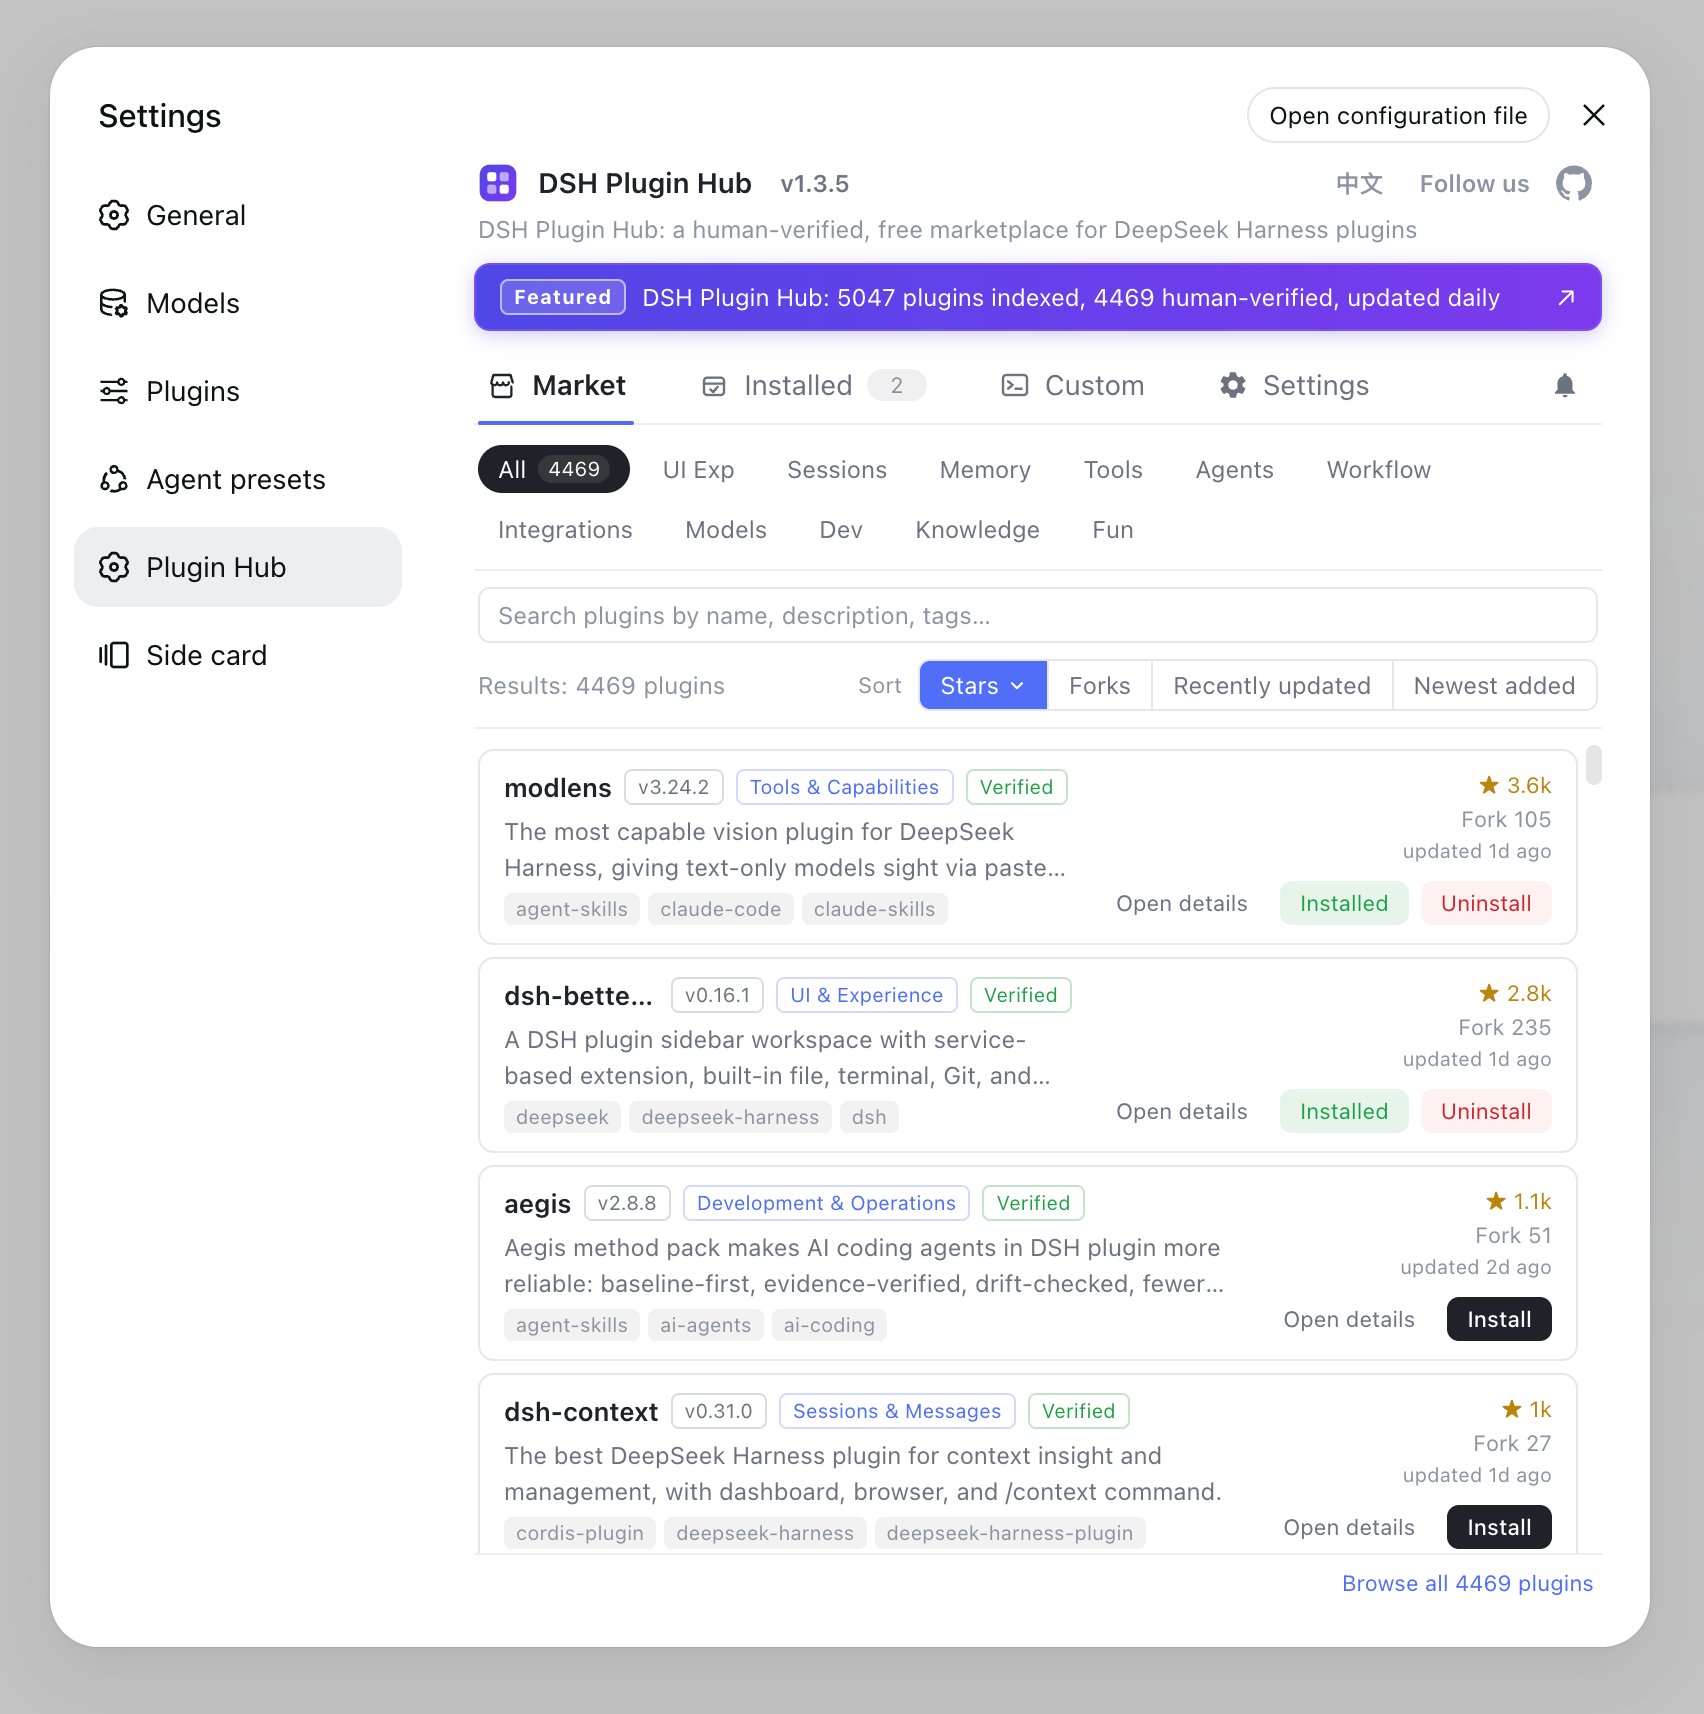
The full browsing, installation, and management workflow is in How to use DSH Plugin Hub.
Common issues and next steps
- pnpm install is slow or fails: switch to a mirror and retry — see Slow or failed DSH plugin downloads.
- Startup errors after building: usually incomplete dependencies — rerun
pnpm install && pnpm run build. - Ship quickly to users: after publishing to npm, apply for DSH Plugin Hub inclusion — see the submit plugin page.
Sources: DeepSeek Harness official website, Official Quickstart, Official Reference, dsh CLI README
FAQ
Five steps: install Node.js and pnpm; git clone https://github.com/deepseek-ai/deepseek-harness.git; run pnpm install then pnpm run build; finally launch with pnpm dsh <command>. pnpm dsh web starts the Web UI at http://127.0.0.1:3080.
npx pulls the npm release package every run and needs no local install; a source build compiles the latest code on your machine and needs Node.js and pnpm, which suits developing DSH plugins and debugging. Both share the ~/.dsh data directory, so sessions carry over.
In the source repository, run pnpm dsh plugin --profile web add file:../my-plugin to install your local plugin; dsh plugin forwards its arguments to pnpm, so local paths, git, and npm sources all work, and changes take effect after restarting dsh web.
dsh plugin --profile <name> <pnpm args> forwards arguments such as add, remove, update, and why straight to pnpm (per the official dsh CLI README), so every package source pnpm supports can install plugins.
Package and publish it to npm, then submit it to DSH Plugin Hub for inclusion; the Hub indexes 10000+ community plugins, 10000+ of them hand-verified, and users can then install it in one click from Settings → Plugin Market.
Sources
- DeepSeek Harness official website· DeepSeek
- DeepSeek Harness Documentation - Quickstart· deepseek-harness
- DeepSeek Harness Documentation - Reference· deepseek-harness
- dsh CLI README· deepseek-ai