dsh workspaces: pick a directory, configure & manage them in DSH
A DeepSeek Harness workspace is the project directory where the agent reads and edits files and runs commands; the default root is wherever you launch dsh (cd /path/to/project && dsh web). Click Select Workspace in the Web UI to add and select the directory - the session input stays disabled until you do. Add multiple workspaces and switch anytime; permission-gated operations ask you first (source).
Overview: a workspace is the agent's operating boundary
In one sentence: a workspace is the directory the agent can read, edit, and run commands in - the boundary of every session. Pick the wrong one and the agent works in a place you did not intend. Get started in three steps:
- Understand the concept: the default root is the directory where dsh was launched - confirm it with
pwdfirst; - Configure in the UI: click Select Workspace in the Web UI, add and select the project directory;
- Manage multiple workspaces: add several directories, switch freely, and approve permission-gated actions in the UI.
Each step is detailed below.
Step 1: the concept and the default root directory
The dsh process treats its invocation directory as the default file system location, but a fresh Web UI does not select any workspace until one is added (source). The key action happens before you launch:
# 1. Confirm the current directory is the project you want the agent to work in
pwd

# 2. If not, switch to it first
cd /path/to/project

# 3. Launch the Web UI from this directory (or the npx no-install version)
dsh web
# or
npx @deepseek-ai/dsh web
Two points:
- The launch directory decides the default root:
cdmust come beforedsh web; - It is not locked in: the default is only a starting point - the Web UI can add any directory as a workspace, not just the launch directory.
Step 2: add and select a workspace in the Web UI
In the Web UI, click Select Workspace, add the project directory where dsh was launched, and select it; until a workspace is selected, the session input is unavailable (source). The steps:
- Click Select Workspace: the entry point at the top of the Web UI opens the directory list;
- Add a directory: add the project directory you
cd-ed into in step 1; - Select it: the session input becomes usable only after selection;
- Verify the boundary: send something like "Summarize this repository" and confirm every agent action stays inside that directory.
Why select first: it is an official safety design - the agent's operating boundary must be explicit before a session starts, so it never touches unapproved locations.
Step 3: multiple workspaces and permissions
One profile can hold several workspaces that you switch between anytime - the agent only operates in the currently selected one, and operations requiring approval under the current permission policy ask you in the Web UI first (source). Management essentials:
- Switch between workspaces: maintain a directory list under Select Workspace and switch per project without restarting;
- What the agent can do: read and edit workspace files, run commands, delegate work, and maintain plans - all inside the current workspace;
- The approval mechanism: operations gated by the permission policy are confirmed by you in the Web UI before execution; the agent stops and waits on anything uncertain;
- Isolate with profiles: for different plugin sets per task, run
dsh --profile <name> webto create separate profiles with independent workspaces and plugins.
Once the workspace is set: add session and tool plugins
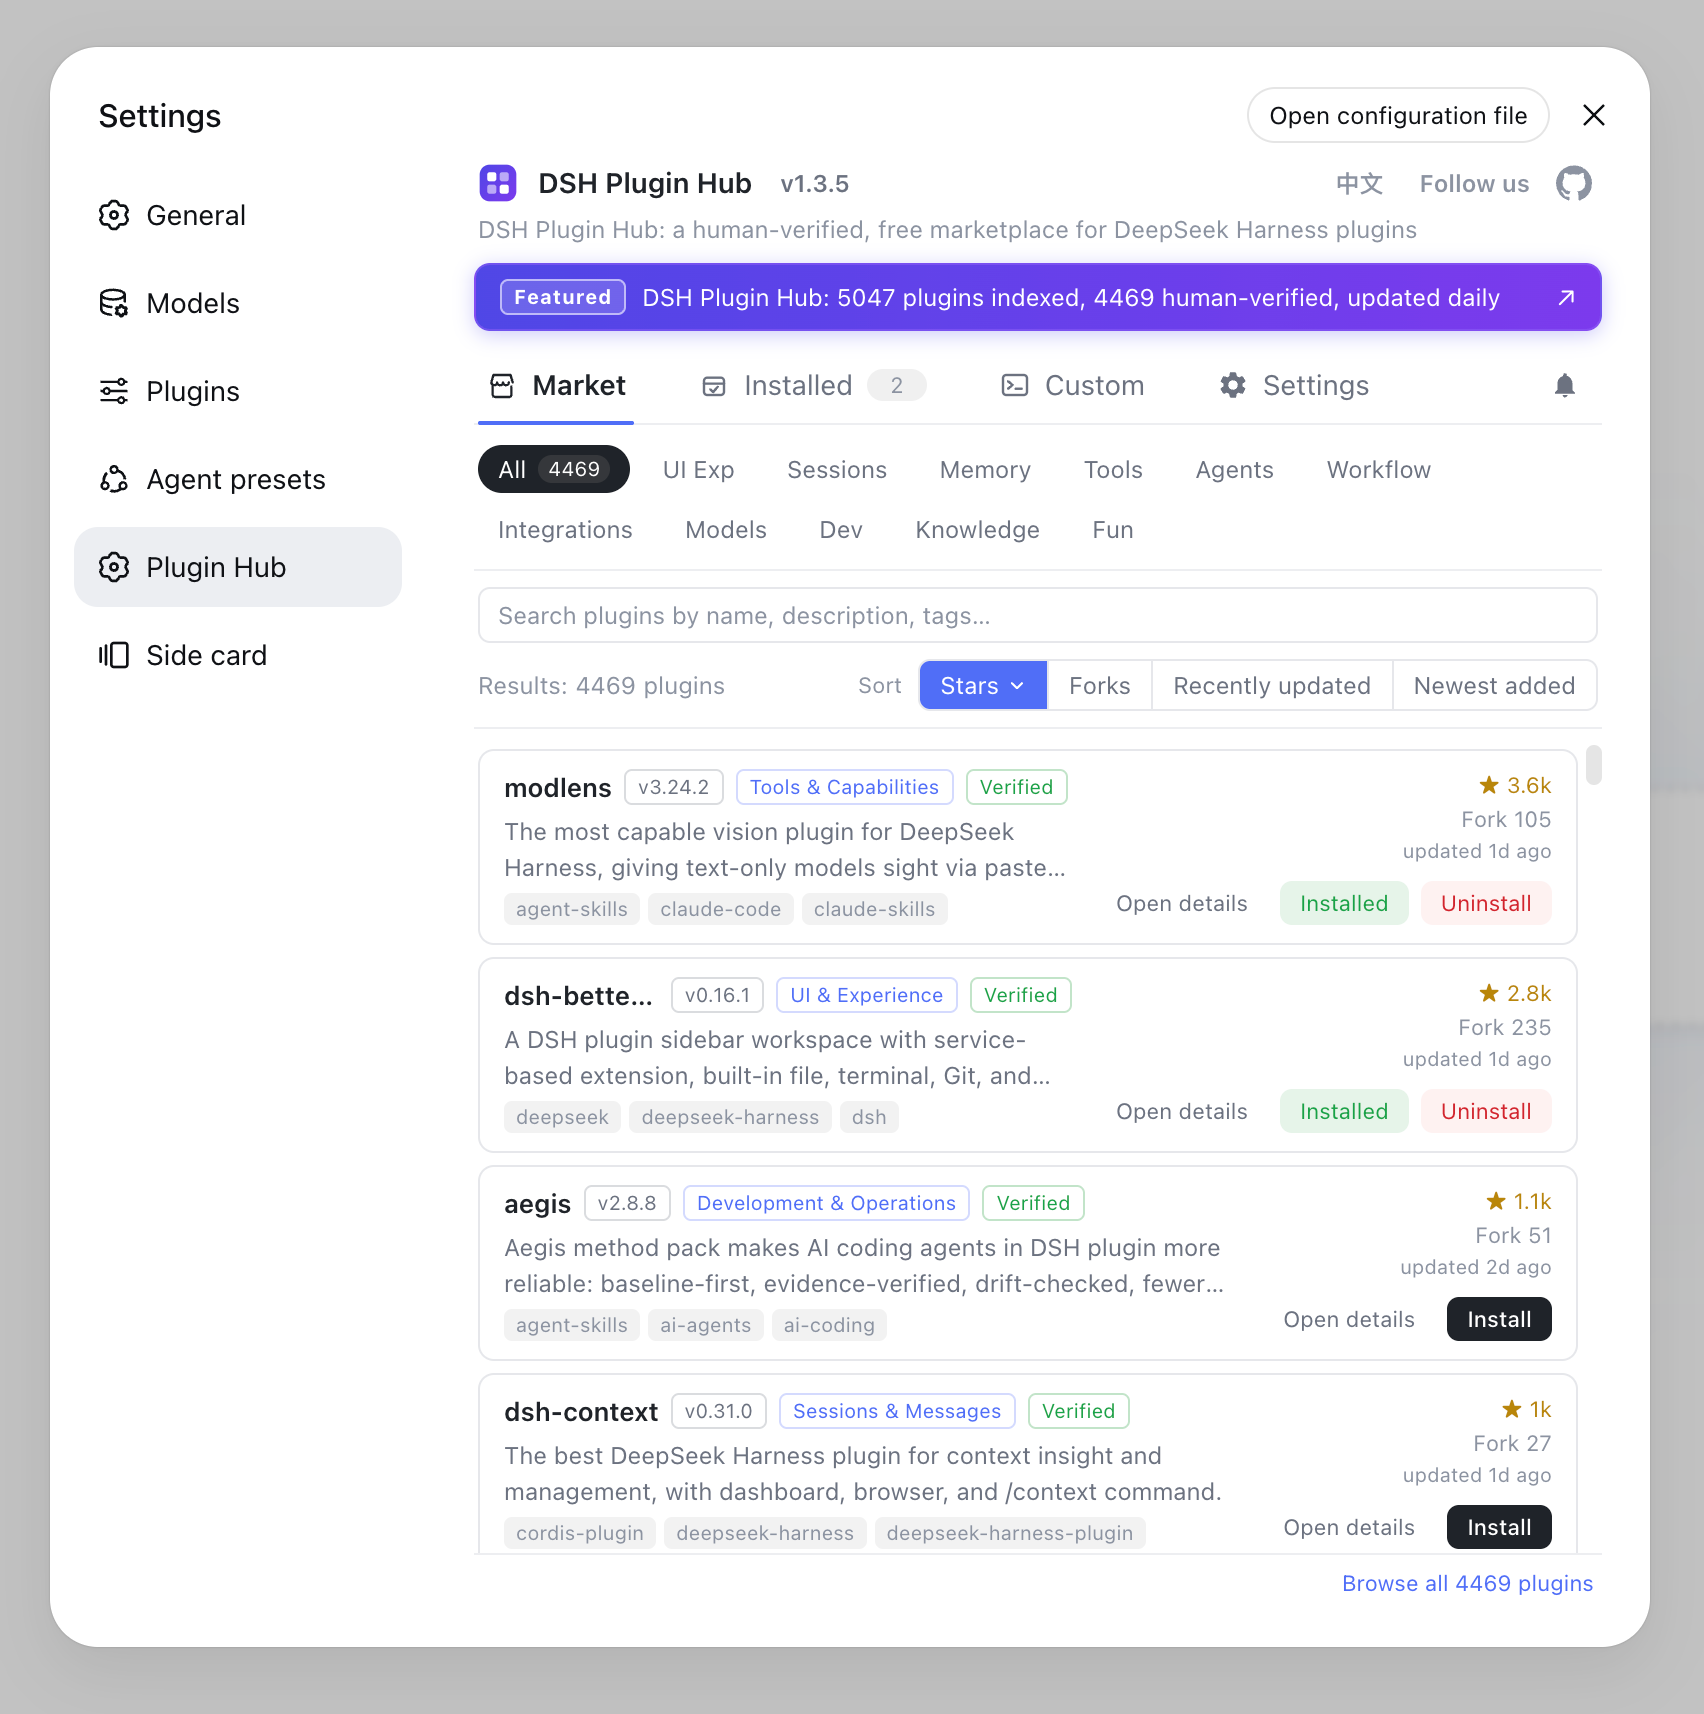
With the workspace configured, the next step is extending the agent - pick session and tool plugins in DSH Plugin Hub under Settings > Plugin Market. Install the Hub itself:
dsh plugin --profile web add dsh-plugin
Restart dsh web and open Settings > Plugin Market: browse 10000+ community plugins by category - session management, file tools, development, and workflow automation - click a card to install with live progress. A workspace plus the right plugins makes a deliverable agent environment.
Notes
One sentence: the workspace decides what the agent can touch, permissions decide what it can do. Three reminders:
- Never launch from the root: starting in
~or a drive root hands the agent run of the whole disk - alwayscdinto a concrete project beforedsh web; - Think before switching: session context and operation history bind to the workspace; when switching, make sure the agent never reads directories it should not;
- Do not tap through approvals: when the Web UI asks, read the operation (command, target path) first and only then allow - it is the last gate.
Sources: DeepSeek Harness docs - Quickstart, dsh CLI README, DeepSeek Harness official site
FAQ
A workspace is the project directory where the agent reads and edits files and runs commands for the current session. It is the session boundary: everything the agent does happens inside the selected workspace, so picking the wrong directory gives the agent the run of your whole home folder.
The dsh process treats the directory where it was launched as the default file system location. To use a project as the root, cd into it first, then start: cd /path/to/project && dsh web. Run pwd before launching to confirm you are in the right directory.
Click Select Workspace, add the project directory where dsh was launched, and select it. The session input stays disabled until a workspace is selected. Add several directories and switch between them anytime; the agent only touches the currently selected workspace.
Because the session input is unavailable until a workspace is selected - DeepSeek Harness requires the agent's operating boundary to be explicit before a session starts. It is an official safety design: the agent must know which directory it is allowed to work in.
The agent can read and edit workspace files, run commands, delegate work, and maintain plans. When an operation requires approval under the current permission policy, the Web UI asks you first and only executes after you confirm - it stops and waits rather than acting silently.
Sources
- DeepSeek Harness docs - Quickstart (selecting a workspace)· deepseek-harness
- dsh CLI README· deepseek-ai
- DeepSeek Harness official site· DeepSeek