How to install dsh: npx, npm global, or source build
DeepSeek Harness offers three install routes: npx runs without installing (best for beginners), npm global installs the dsh command (best for daily use), and a source build (for development and the newest code). This guide compares scenarios, prerequisites, commands, verification and uninstall notes for all three — and closes with a troubleshooting table.
Overview: the three install routes compared
Pick npx to try things out, or a global install when dsh becomes part of your routine. All three share the same data directory (~/.dsh), so plugins and configs never conflict and you can switch routes anytime (source):
| Route | Best for | Prerequisite | Start command | Uninstall |
|---|---|---|---|---|
| npx one-liner | quick try, no environment changes | Node.js | npx @deepseek-ai/dsh web | nothing installed, nothing to remove |
| npm global | long-term daily use | Node.js + npm | dsh web | npm uninstall -g @deepseek-ai/dsh |
| source build | newest code, custom development | Node.js + git | dsh web after build | delete the cloned repo |
Route 1: npx one-liner (beginners)
One command downloads and starts — no global files written, the fastest way to try DeepSeek Harness.
Prerequisites:
- Node.js (with npm) installed;
node -vprints a version; - Network access to the npm registry (a mirror helps on slow connections).
Steps:
- Open a terminal and run:
npx @deepseek-ai/dsh web
- The first run downloads
@deepseek-ai/dshand initializes the web profile; wait for the "service started" message; - The browser opens
http://127.0.0.1:3080automatically — or type the address manually; - Finish the first-time setup (e.g. configure a model provider) and you are ready.
Fallback: npx: command not found means Node.js is missing or not on PATH — install it and retry. Slow or timed-out downloads: switch the npm mirror (npm config set registry https://registry.npmmirror.com) and run again.
Route 2: npm global install (daily use)
Put the dsh command on your system and start anytime; updates and uninstalls both go through npm.
Prerequisite: Node.js + npm available; npm -v prints a version.
Steps:
- Install globally:
npm install -g @deepseek-ai/dsh
- Verify:
dsh --versionprints a version number; - Start the service:
dsh web
- Open
http://127.0.0.1:3080and finish the first-time setup.
Fallback: dsh: command not found — find the global bin directory with npm prefix -g, add it to PATH and reopen the terminal. EACCES permission errors: run sudo npm install -g @deepseek-ai/dsh or configure a user-level npm prefix.
Route 3: source build (development and newest code)
Clone the official repo and build it yourself — great for reading the code, doing your own development, or trying unreleased features.
Prerequisites: Node.js (node -v), git (git --version), and GitHub access.
Steps:
- Clone the official repo:
git clone https://github.com/deepseek-ai/deepseek-harness
- Enter the directory and install dependencies:
cd deepseek-harness
npm install
- Run the build command documented in the repo (check the README for the exact one);
- Once built, start with
dsh weband openhttp://127.0.0.1:3080.
Fallback: a timed-out git clone means GitHub access is restricted — configure a proxy and retry. npm install errors usually point to an old Node version — upgrade Node.js and run it again.
Verify and take the next step
Verify first, then step into the plugin ecosystem. Steps:
dsh --versionprinting a version number means the binary is installed;dsh web(ornpx @deepseek-ai/dsh web) openinghttp://127.0.0.1:3080means you are fully ready;- Next, install the plugin market:
dsh plugin --profile web add dsh-plugin, which brings in DSH Plugin Hub; - Restart dsh web, refresh the page, and use it from Settings → Plugin Center.
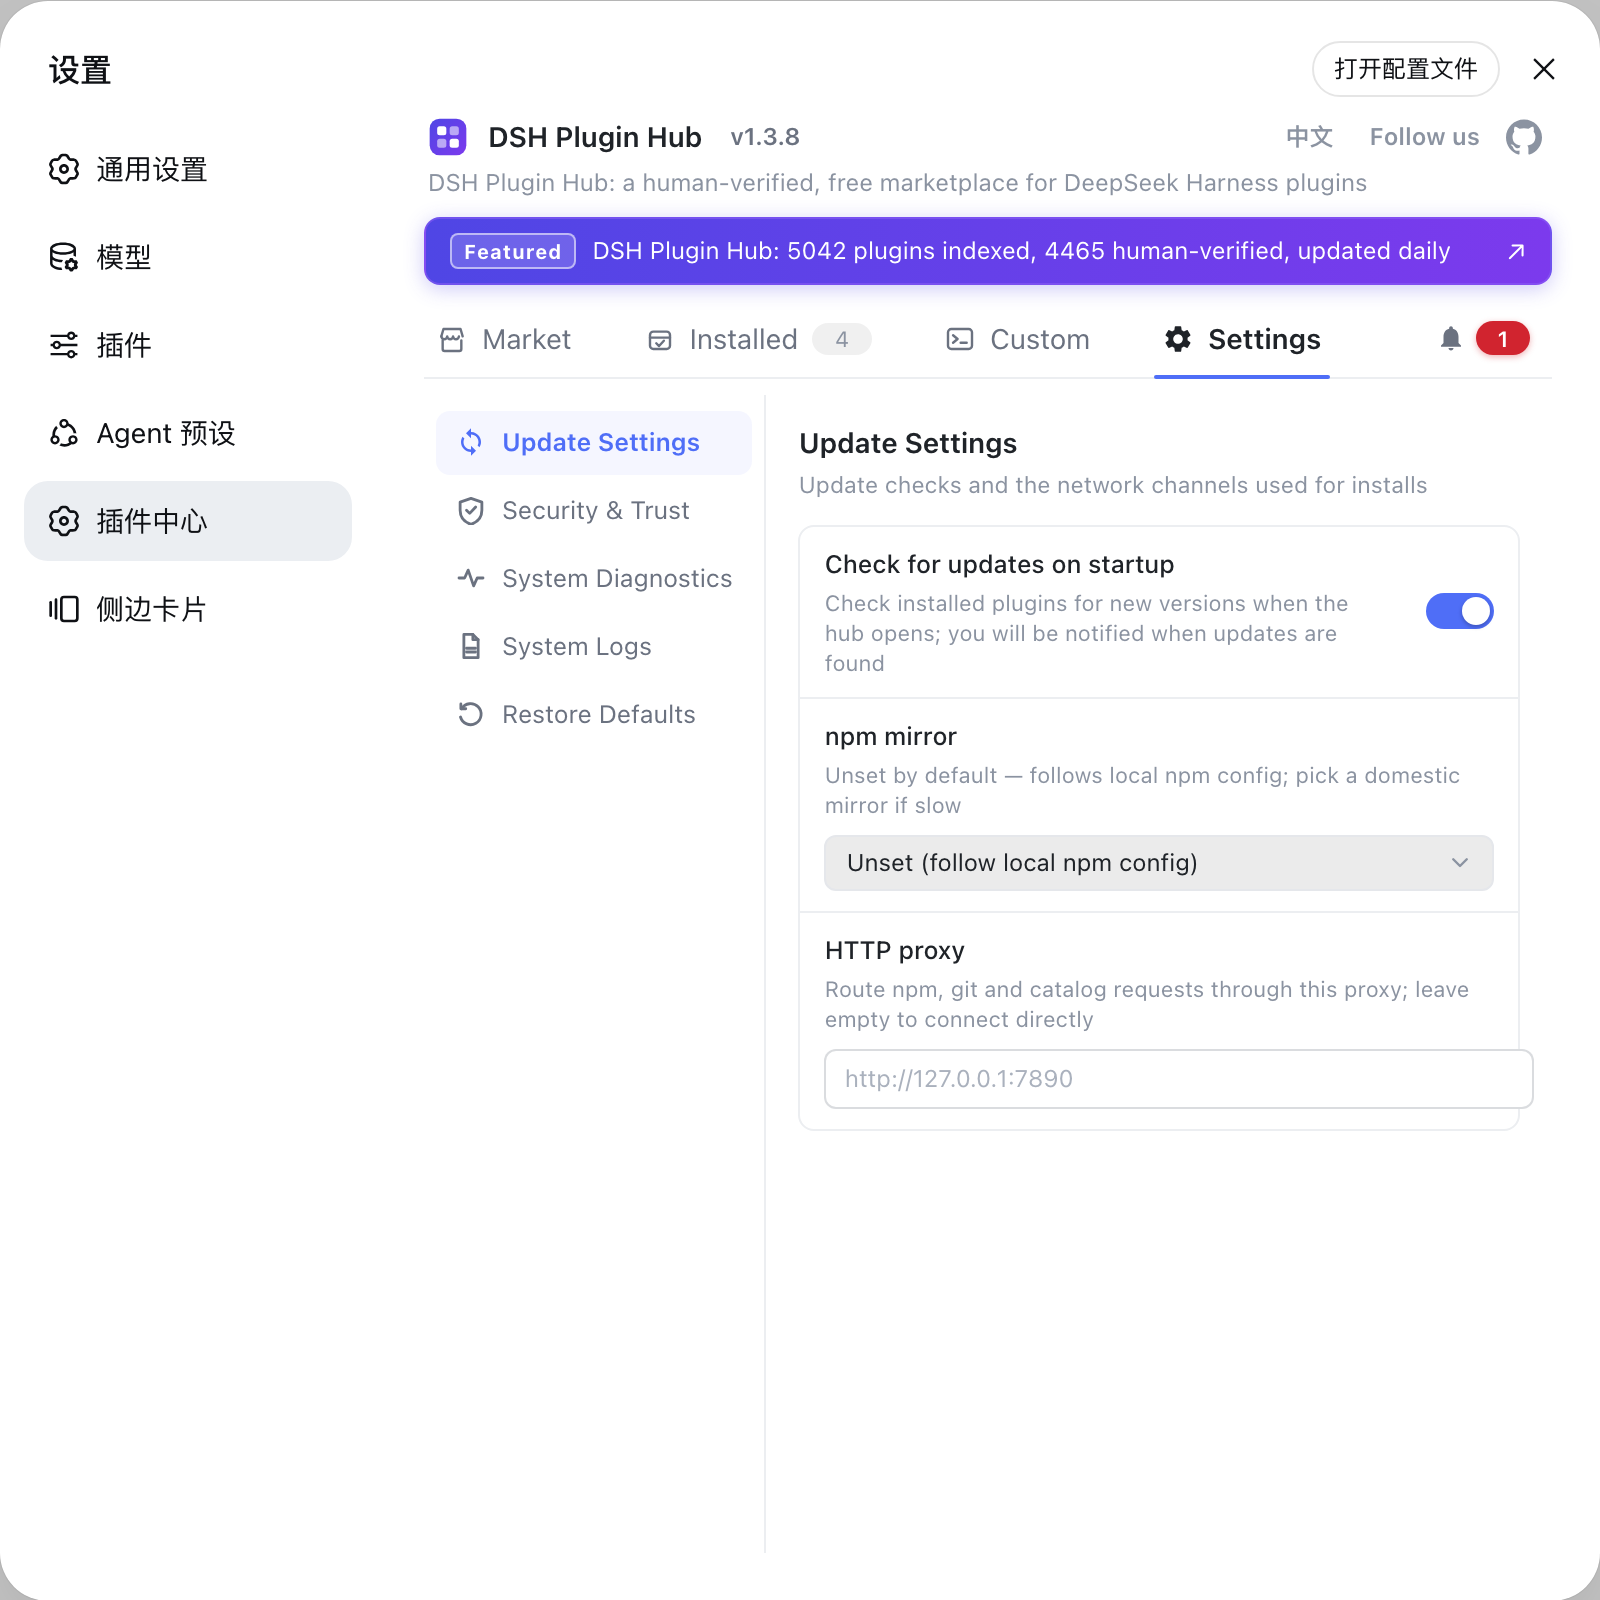
Uninstall notes for each route
Uninstall the way you installed — and remember the binary and the ~/.dsh data directory are two different things. Commands:
# npx route: nothing installed; optionally clear the temp cache (data kept)
rm -rf ~/.npm/_npx

# npm global install
npm uninstall -g @deepseek-ai/dsh

# source build: delete the cloned repo directory
rm -rf ~/path/to/deepseek-harness
Uninstalling removes only the program; configs, credentials and sessions under ~/.dsh stay by default. Only delete ~/.dsh yourself for a full data wipe — back it up first.
Troubleshooting common issues
Can't install or start? Locate the problem in the table first. Common issues:
| Issue | Likely cause | Fix |
|---|---|---|
npx: command not found | Node.js missing or not on PATH | install Node.js, reopen the terminal |
dsh: command not found | global bin dir not on PATH | npm prefix -g, add the dir to PATH, reopen the terminal |
| Install / download timeout | slow network, restricted registry | switch the npm mirror: npm config set registry https://registry.npmmirror.com |
| Permission error (EACCES) | no write access to global dirs | install with sudo, or configure a user-level npm prefix |
git clone timeout | GitHub access restricted | configure a proxy and retry |
| Port 3080 won't open in the browser | service not running, or port busy | confirm the terminal service is up, free port 3080, restart |
Quick recap
In short: start with npx, install globally for daily use, build from source for development — then verify with dsh --version and dsh web.
Four reminders:
- All three routes share data — switching install methods never loses the configs, sessions or plugins in
~/.dsh; - Node.js comes first — every route depends on it; confirm
node -vbefore starting; - The first download is slow by design — npx and the global install both fetch packages on first run; a mirror speeds it up;
- Step into the plugin ecosystem after installing —
dsh plugin --profile web add dsh-plugininstalls DSH Plugin Hub, then install more plugins from Settings → Plugin Center.
Sources: dsh CLI README, DeepSeek Harness docs - Quickstart, dshplugin/dsh-plugin-hub
FAQ
Three: the npx one-liner (npx @deepseek-ai/dsh web), the npm global install (npm install -g @deepseek-ai/dsh, then start with dsh web), and a source build (git clone https://github.com/deepseek-ai/deepseek-harness, npm install, then build per the README).
The npx route: one command downloads and starts with the latest version, writing no global files. Upgrade to a global install (npm install -g @deepseek-ai/dsh) once you know you will use dsh daily — startup is faster.
Start with dsh web and open http://127.0.0.1:3080; update later with npm update -g @deepseek-ai/dsh; check the installed version with dsh --version.
Node.js (check with node -v), git (check with git --version), and network access to GitHub. Clone the repo, cd deepseek-harness, run npm install, then run the build command documented in the repo.
Two checks: dsh --version prints a version number (binary ready), and dsh web (or npx @deepseek-ai/dsh web) lets the browser open http://127.0.0.1:3080 (fully usable).
Sources
- dsh CLI README· deepseek-ai
- DeepSeek Harness docs - Quickstart· deepseek-harness
- dshplugin/dsh-plugin-hub GitHub repository· GitHub